

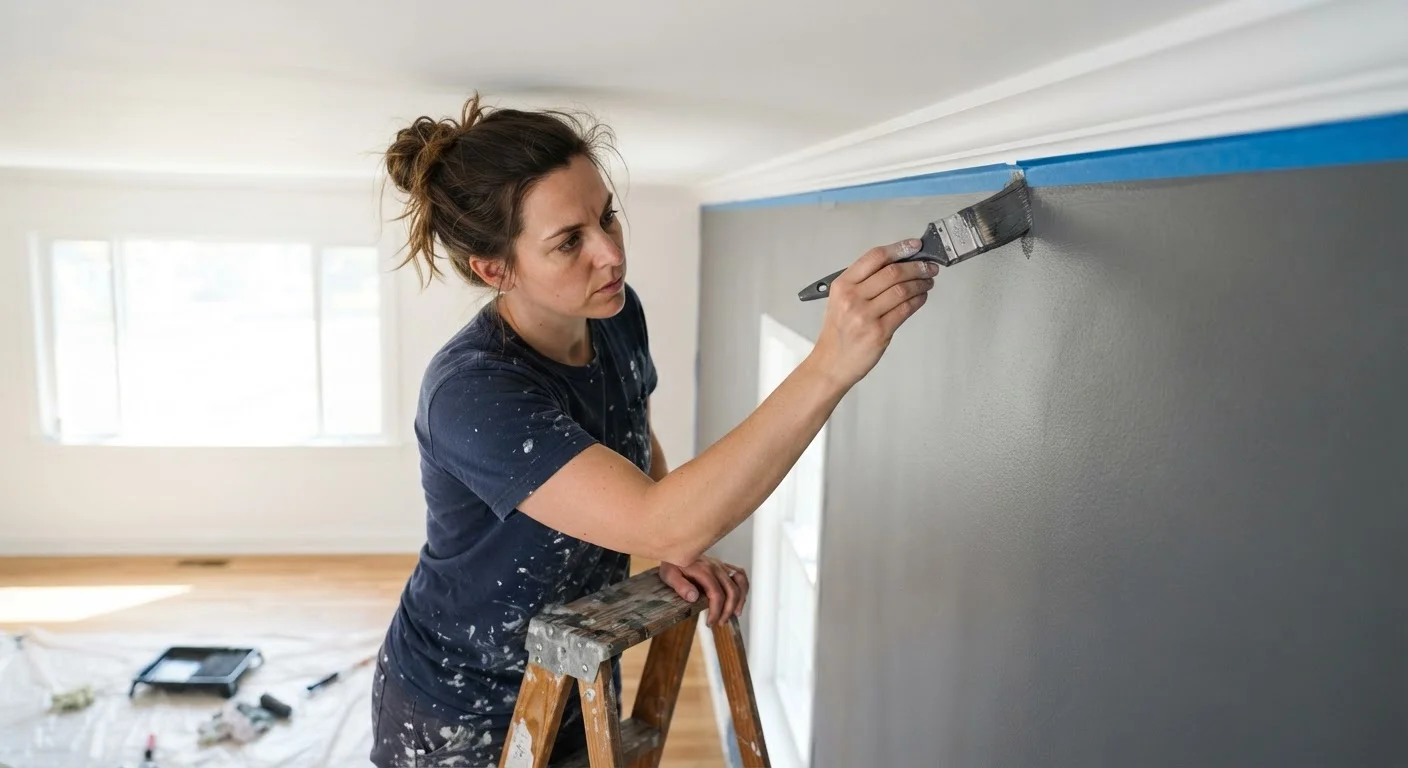
Why Most DIY Paint Jobs Fall Short
Most interior paint jobs that look amateur aren't the result of bad paint - they're the result of skipped steps. Rushing past surface prep, applying paint too thickly, or ignoring the order of operations creates lap marks, rough texture, and peeling edges that show up weeks later.
The difference between a clean finish and a messy one almost always comes down to three things: how you prepared the surface, how you cut in at the edges, and how you applied paint across the field of the wall. Get those three right, and the color almost takes care of itself.
If you're new to DIY work in general, this introduction to home improvement lays out the foundational habits that apply across projects like this one.
Surface Prep: The Step That Earns Its Time
Paint is only as smooth as the surface beneath it. Any crack, nail pop, or patched area that isn't properly sanded will telegraph through your finish coat - especially in raking light from a window or lamp.
Before opening a paint can, wash the walls with a mild cleaner to remove grease, dust, and any residue that prevents adhesion. Fill holes and dings with lightweight spackling compound, let it dry fully, then sand flush with 120-grit sandpaper. For larger repairs, this complete drywall repair walkthrough covers everything from nail pops to bigger patch jobs.
Once repairs are sanded, prime any bare drywall or patched spots. Skipping primer on these areas causes them to absorb paint differently than the surrounding wall - called flashing - which leaves dull, slightly visible spots in the cured finish.
Sand Between Coats for a Smoother Finish
A light pass with 220-grit sandpaper between your primer coat and first finish coat knocks down any dust nibs or brush marks that dried into the surface. Wipe away the dust with a tack cloth or lightly dampened rag before rolling. This extra step takes under ten minutes per room and produces a noticeably smoother finished wall.
Understanding Your Paint Before You Roll
Reading the paint label isn't optional - it tells you the recoat window, coverage rate, and sheen finish, all of which directly affect your technique. A flat paint hides imperfections better but scuffs more easily; a satin or eggshell holds up to cleaning but amplifies any surface flaws. Decoding what's on a paint label can help you choose the right product before you start.
2-4 hrs
Typical recoat window for latex interior paint
Most latex paint manufacturers recommend waiting two to four hours between coats under normal temperature and humidity conditions.
120-grit
Sandpaper grade for smoothing patched areas
Professional painters typically use 120-grit for knock-down sanding of filled spots, followed by 220-grit between finish coats.
Once you know your dry and recoat times, stick to them. Applying a second coat before the first has fully cured - even if it feels dry to the touch - is one of the most common causes of peeling and uneven sheen.
Cutting In: Edges First, Every Time
Cutting in means painting a clean border along ceilings, trim, and corners with a brush before you roll. It creates a wet edge that your roller can blend into without leaving a visible line. The key word is before - rolling first and then trying to brush edges produces a ridge where the two applications meet.
Use a 2- to 2.5-inch angled sash brush. Load it lightly, tap off the excess (don't wipe it against the rim - that strips too much paint), and draw a smooth stroke 1-2 inches from the edge. Then come back and cut the line itself. Work in sections of 3-4 feet so the cut-in edge is still wet when you roll adjacent to it - that's what blends the two applications seamlessly.
Always cut in before you roll any section of wall
Cutting in first creates a wet edge that the roller blends into, eliminating the visible ridge that forms when you try to brush over dried rolled paint. This single step is the biggest differentiator in edge quality.
Prime repaired or bare drywall spots before painting
Unprimed patches absorb paint at a different rate than painted surfaces, creating dull spots called flashing that remain visible even after multiple coats. Spot-priming equalizes absorption and ensures a uniform sheen.
Apply paint in a W or M pattern before filling in
Starting with a W or M distributes paint across the section before it begins to dry, which eliminates lap marks and prevents uneven buildup. Filling in afterward with parallel strokes levels the coat.
Respect the recoat window printed on your paint label
Paint that feels dry on the surface may not have fully cured beneath. Applying a second coat too soon traps moisture, causing peeling and sheen inconsistency that won't be visible until the job is complete.
Remove painter's tape at a 45-degree angle while paint is still slightly tacky
Waiting until paint is completely hard causes it to bond to the tape edge, pulling chips or strings of dried paint away from the wall. Removing at an angle while slightly tacky minimizes tearing and produces a cleaner line.
Rolling Technique: W Pattern and Wet Edges
A paint roller loaded properly and moved in the right pattern distributes paint evenly without streaks or holidays (missed spots). Load the roller by running it through the paint tray reservoir, then roll it back and forth across the ridged ramp until it's evenly saturated - not dripping.
Apply paint using a W or M pattern across a 3×3-foot section, then fill in the section with parallel strokes without lifting the roller. This spreads the paint before it starts to set, reducing lap lines. Keep a wet edge by working section-to-section quickly and overlapping slightly into wet paint.
For ceiling work, this article on ceiling painting covers sheen and color choices that affect how the room feels once everything is done.
Two Coats, Proper Dry Time, Clean Results
One thick coat is almost never the right move. Paint applied too heavily runs, sags, and dries unevenly. Two thin coats provide better adhesion, truer color, and longer-lasting coverage. Check your label's recoat time - typically two to four hours for latex paint - and respect it even when the wall looks dry.
Once the final coat cures (usually 24 hours for light handling, longer for full hardness), remove painter's tape at a 45-degree angle away from the wall to avoid pulling the fresh paint with it. The result: clean, crisp edges that look deliberate rather than rushed.
Ventilation Matters More Than Most Realize
Even low-VOC latex paints produce fumes that accumulate in enclosed spaces. Keep windows open and run a fan pushing air outward during painting and while coats dry. If you're sensitive to fumes or painting a small room, wear an N95 respirator rated for particles and organic vapors. Full cure - when the paint has fully hardened and off-gassing slows - typically takes one to two weeks depending on ventilation and humidity.
The content provided on our blog site traverses numerous categories, offering readers valuable and practical information. Readers can use the editorial team’s research and data to gain more insights into their topics of interest. However, they are requested not to treat the articles as conclusive. The website team cannot be held responsible for differences in data or inaccuracies found across other platforms. Please also note that the site might also miss out on various schemes and offers available that the readers may find more beneficial than the ones we cover.