

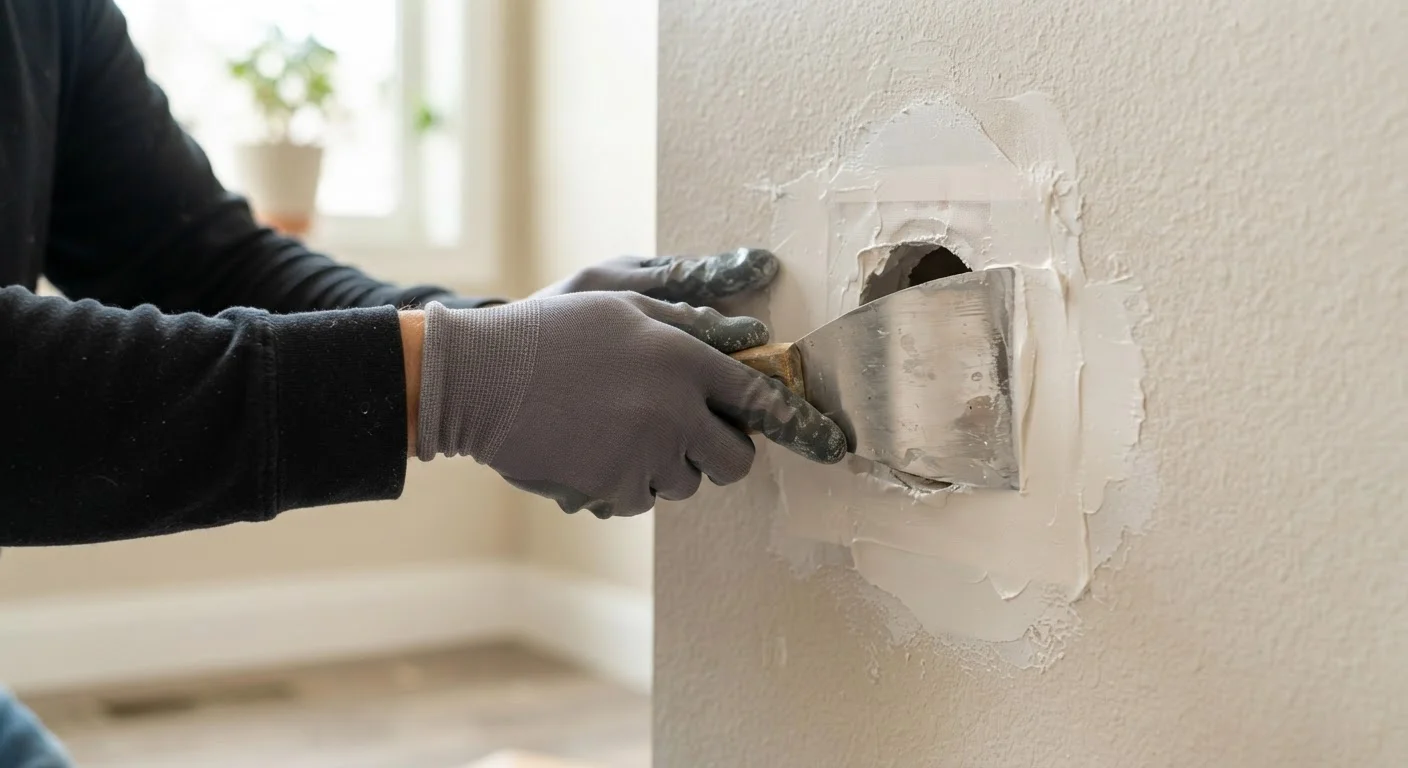
Understanding Drywall Damage: What You're Actually Fixing
Drywall - also called gypsum board or sheetrock - is a panel of compressed gypsum plaster sandwiched between two layers of paper. It's designed to be painted over, not to withstand direct impact, so damage is inevitable in any lived-in home. Before reaching for a putty knife, it helps to understand what you're dealing with.
Common damage types include:
- Nail pops: Fasteners that have worked loose and pushed through the surface paper.
- Dents and dings: Shallow surface damage that doesn't penetrate the gypsum core.
- Small punctures: Doorknob strikes, anchors pulled free, or picture-hook gaps under about 1 inch.
- Medium holes: Damage ranging from 1 to 6 inches, often from doorknobs, plumbing access, or accidental impacts.
- Large holes: Damage exceeding 6 inches, often requiring a cut-and-replace approach.
- Water damage: Softened, stained, or crumbling sections caused by leaks - address the moisture source first, before any patching.
If you're new to home repair generally, it's worth reviewing foundational DIY skills before starting any drywall project.
Never Patch Water-Damaged Drywall Without Fixing the Source
Water-softened drywall has lost structural integrity and will not hold compound reliably. Before cutting or patching, identify and repair the source of the moisture - a leaking pipe, roof, or window seal - and allow the area to dry completely, which may take several days. If you suspect hidden mold behind the panel, consult a qualified contractor or mold remediation professional before proceeding.
Tools and Materials You'll Need
Gathering everything before you start prevents mid-repair trips to the hardware store. The supplies you need scale with the size of the repair.
For all repairs:
- Spackle or lightweight joint compound (mud)
- Putty knife (3-inch for small work, 6- to 10-inch for larger patches)
- Fine-grit sandpaper (120- and 220-grit)
- Primer and paint to match the wall
- Safety glasses and a dust mask
For medium and large repairs, add:
- Drywall patch kit or a piece of 1/2-inch gypsum board
- Drywall screws and a screw gun or drill
- Drywall tape (paper tape for large patches; fiberglass mesh for medium)
- Wood backing strips or furring strips to support the patch
- Utility knife and drywall saw
3-4
Coats of joint compound typically needed
Professional finishers generally apply three or more thin coats rather than one thick application to prevent cracking and shrinkage.
16"
Standard stud spacing in most US homes
Most residential framing in the United States uses 16-inch on-center stud spacing, which determines where large patch cuts should land.
24 hrs
Minimum drying time between mud coats
Joint compound must be fully dry - appearing uniformly white with no gray damp spots - before sanding or applying additional coats.
Lightweight joint compound is recommended over standard (all-purpose) mud for most DIY repairs - it shrinks less, dries faster, and sands more easily.
Fixing Small Holes and Nail Pops
Small repairs are the most forgiving, and with a bit of patience they can be completely invisible after painting.
Nail pops
- Drive the popped nail back in with a hammer, then drive a new drywall screw about 2 inches above and below it to anchor the panel properly.
- Use a putty knife to create a slight dimple over each screw head - the screw should sit just below the surface, not flush.
- Apply two thin coats of spackle or joint compound, letting each dry fully.
- Sand smooth with 120-grit, then 220-grit paper.
Small holes (under 1 inch)
- Clean away any loose paper or gypsum crumbles around the hole.
- Fill with lightweight spackle using a putty knife, slightly overfilling.
- Once dry, sand flush. A second coat is often needed to fill any shrinkage.
Always Prime Before You Paint
Skipping primer over fresh joint compound is the most common reason DIY repairs remain visible after painting. Joint compound is extremely porous and will absorb paint unevenly, creating a dull or 'flashed' spot even on a perfectly smooth surface. A single coat of drywall PVA primer seals the repair and ensures your finish coat matches the surrounding wall.
After sanding, wipe the area with a damp cloth to remove dust before applying primer. Paint alone over unprimed repairs often telegraphs the patch as a dull or shiny spot.
Patching Medium Holes (Up to 6 Inches)
Holes in the 1-to-6-inch range need a rigid backing to hold the patch. The most reliable DIY method uses a self-adhesive mesh patch kit combined with joint compound.
- Clean the edges: Use a utility knife to trim any torn paper or loose gypsum so you have a clean, stable perimeter.
- Apply the mesh patch: Center a fiberglass mesh patch over the hole and press it firmly to the wall surface.
- Apply the first coat of mud: Using a 6-inch knife, spread joint compound over the mesh in a thin, even layer that extends several inches beyond the patch edges. Feather the edges - blend them out gradually so there's no abrupt ridge.
- Let it dry completely: Drying time varies by humidity and temperature; don't rush it.
- Sand and apply a second coat: Lightly sand with 120-grit, wipe clean, and apply a wider second coat. Repeat for a third coat if needed.
- Final sand: Finish with 220-grit for a smooth surface.
When feathering joint compound, use the widest knife you can comfortably control - a 10-inch knife on the final coat makes blending nearly effortless compared to a 6-inch knife.
A wider blade spreads mud over a larger area in one stroke, creating a gradual transition that hides the repair edge far better than a narrower tool.
Hold a work light at a raking angle (nearly parallel to the wall surface) while inspecting your repair between coats - this reveals low spots and ridges that look invisible under normal room lighting.
Raking light exaggerates surface imperfections, allowing you to catch and correct problems before they're locked in under primer and paint.
Replacing Large Sections of Drywall
Damage larger than 6 inches typically can't be bridged by mesh alone - you'll need to cut back to the nearest studs and install a piece of new drywall. Studs are typically spaced 16 inches apart on center.
Check for Wiring and Plumbing Before Cutting
Before making any cuts in drywall, use a stud finder with AC detection or a separate wire detector to check for electrical cables behind the wall. Never cut near outlets, switches, or panel boxes without first confirming wire locations. If there's any doubt - or if you're working in an area with plumbing - consult a licensed electrician or plumber before proceeding.
- Locate the studs: Use a stud finder to mark the studs on each side of the damaged area.
- Cut a clean rectangle: Using a drywall saw or utility knife, cut from the center of one stud to the center of the next, creating a rectangular opening with exposed stud faces on each side edge.
- Install backing if needed: For top and bottom edges without a stud, screw horizontal wood backing strips inside the wall cavity so the patch has something to fasten to.
- Cut and fasten the patch: Cut a piece of new 1/2-inch drywall to fit snugly. Fasten it with drywall screws into the studs and backing, spacing screws about 8 inches apart. Dimple each screw slightly below the surface.
- Tape the seams: Apply paper tape over each joint using joint compound, embedding the tape and smoothing it flat with a 6-inch knife.
- Build up with mud: Apply three or more coats of joint compound, using a progressively wider knife (6-inch, then 10-inch) and feathering each coat outward for a smooth, invisible transition.
Finishing, Sanding, and Priming for a Seamless Look
The difference between a patch that's invisible and one that's obvious almost always comes down to finishing. This is where patience pays off.
Sanding
Work through grits: 120-grit to knock down ridges, then 220-grit to smooth. Always sand in a well-ventilated space and wear a dust mask - gypsum dust is a respiratory irritant. A sanding sponge works well for feathered edges and curved areas.
Priming
Raw joint compound is highly porous. Paint applied directly will absorb unevenly, leaving a dull patch even if the surface is perfectly smooth. Apply a coat of drywall primer (sometimes called PVA primer) over the repair and let it cure before painting.
Painting
Use the same sheen as the surrounding wall. If you're unsure, bring a paint chip to a hardware store for a color match. Rolling the entire wall panel - rather than spot-painting - usually produces the most seamless result. For a deeper dive on technique, see our guide on painting interior walls like a professional.
Texture Matching Takes Practice
If your walls have a texture - orange peel, knockdown, or skip trowel - you'll need to replicate it before priming. Aerosol texture sprays can approximate common patterns, but achieving an exact match often takes experimentation. Test on a scrap piece of drywall first, and consider consulting a professional painter if the texture is complex or highly visible.
With the right approach, drywall repair is one of the most satisfying home improvement skills to master. Each repair gets easier, and the results - a smooth, unmarked wall - are immediately visible.
The content provided on our blog site traverses numerous categories, offering readers valuable and practical information. Readers can use the editorial team’s research and data to gain more insights into their topics of interest. However, they are requested not to treat the articles as conclusive. The website team cannot be held responsible for differences in data or inaccuracies found across other platforms. Please also note that the site might also miss out on various schemes and offers available that the readers may find more beneficial than the ones we cover.