

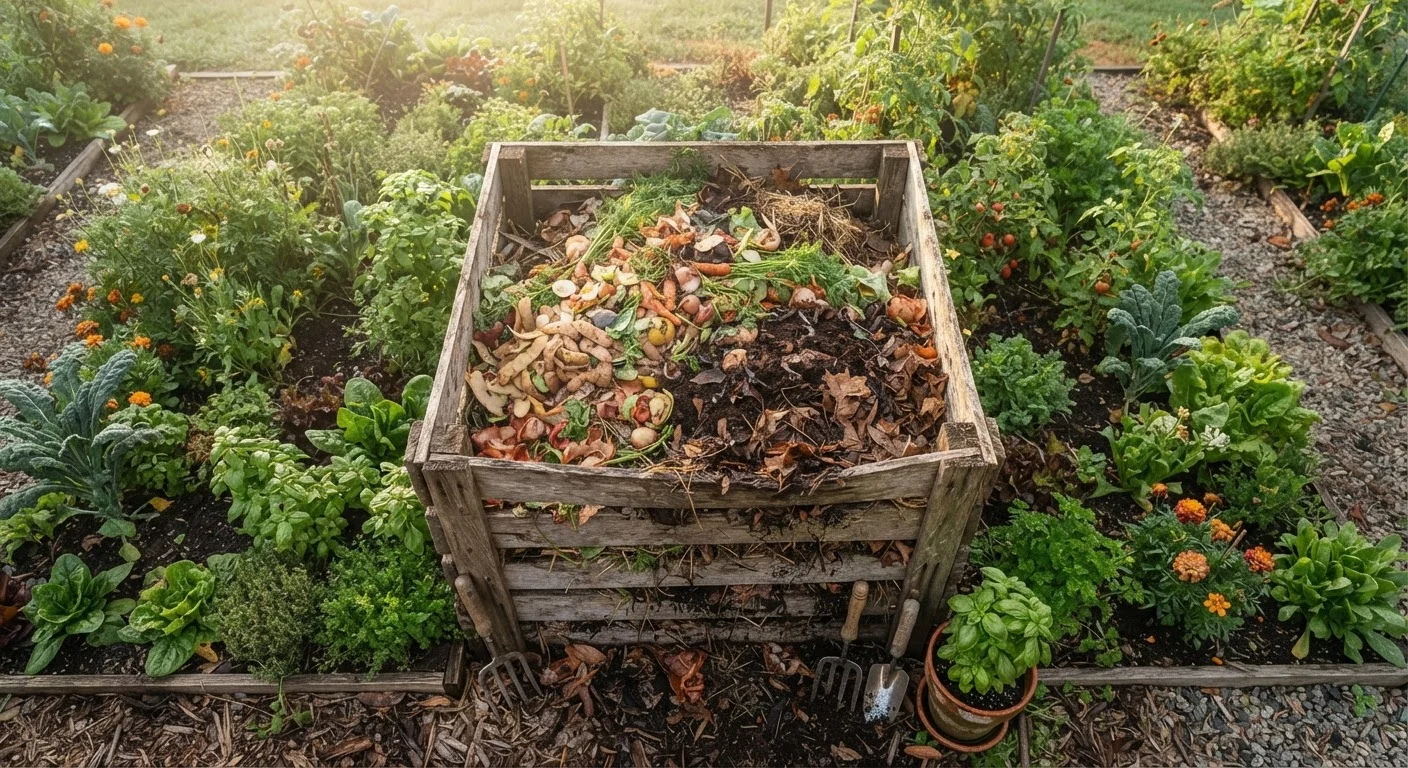
Why Composting Is Worth the Effort
Composting is the controlled decomposition of organic matter - food scraps, yard trimmings, cardboard - into a dark, crumbly material called humus (pronounced HYOO-mus). Spread on garden beds, humus improves soil structure, slowly releases nutrients, and supports the microbial life that keeps plants healthy. It also diverts organic waste from the landfill, where it would otherwise produce methane as it breaks down without oxygen.
If you're starting a vegetable garden from scratch, homemade compost is one of the most cost-effective ways to build good soil quickly. And if you're gardening in a raised bed or an in-ground plot, compost works equally well in both systems. Even container gardeners can mix a portion of finished compost into potting mix - see our guide on container gardening on small patios and balconies for tips.
Start Small and Build Consistency
You don't need a large yard or a perfect setup to start composting. Even a 3-foot bin in a corner of the garden is enough to process a meaningful portion of household food waste. Focus on building the daily habit of separating scraps first - the technique comes naturally with a little practice.
What to Compost - and What to Leave Out
A healthy compost pile needs two categories of material, often called greens and browns:
- Greens (nitrogen-rich): fruit and vegetable scraps, coffee grounds and paper filters, tea bags (remove any staples), fresh grass clippings, and plant trimmings.
- Browns (carbon-rich): dry leaves, cardboard torn into small pieces, newspaper, paper bags, straw, and wood chips.
A rough ratio of one part greens to two or three parts browns by volume keeps decomposition active without creating odors. Too many greens and the pile turns slimy and smells; too many browns and it dries out and stalls.
Keep These Materials Out of Your Bin
Meat, fish, bones, dairy, and oily foods can attract rodents and other pests to a backyard bin. Pet waste (dog or cat feces) may contain pathogens that home composting temperatures are unlikely to destroy. Diseased plant material can survive and re-infect your garden when compost is applied. When in doubt, leave it out.
Never add meat, fish, bones, dairy products, oily foods, pet waste, or diseased plants to a standard backyard bin. These materials either attract pests or introduce pathogens that a home pile may not reach temperatures high enough to neutralize.
Setting Up Your Compost System
Before starting the steps below, gather your materials and choose a bin style. Options range from a simple open pile in the corner of the yard to a purchased tumbler or a DIY three-bin system built from pallets. Any setup works - what matters is consistent management.
What you will need
Compost bin or tumbler
Contains the pile, retains heat, and deters larger pests during decomposition.
Garden fork or compost aerator
Used to turn and aerate the pile to speed up decomposition.
Countertop scrap bin with lid
Collects daily kitchen scraps conveniently before transferring them to the outdoor pile.
Garden hose or watering can
Used to add moisture to the pile when it becomes too dry.
Thermometer (compost or probe type)
Allows you to monitor internal pile temperature to confirm active decomposition.
Choose and position your bin
Place your compost bin or pile on bare soil - not on concrete - so worms and beneficial organisms can migrate in from the ground. Pick a spot that gets partial sun, is reasonably level, and is accessible year-round. A bin at least 3 feet wide, 3 feet long, and 3 feet tall (roughly 1 cubic yard) retains heat effectively.
Lay a brown base layer
Start with a 4- to 6-inch layer of coarse brown material - dried leaves, straw, or wood chips work well. This base promotes airflow at the bottom of the pile and helps excess moisture drain away.
Add greens, then cover with browns
Add a 2- to 3-inch layer of green material on top of the base. Immediately cover it with another layer of browns roughly twice as thick. This layering pattern reduces odors and maintains the carbon-to-nitrogen balance needed for active decomposition. Repeat this pattern each time you add new kitchen scraps.
Monitor moisture levels
Your pile should feel about as damp as a wrung-out sponge - moist throughout but not dripping. Squeeze a handful: if no water drips out and it holds its shape, moisture is right. If it crumbles, add water. If it drips freely, mix in dry browns and turn.
Turn the pile regularly
Use a garden fork or compost aerator to turn the pile - moving material from the outside toward the center - every one to two weeks. Turning introduces oxygen, which fuels the microbes doing the decomposition work and accelerates the process. A pile that's never turned can still decompose, but it will take much longer.
Harvest finished compost
Finished compost is dark brown, crumbly, and smells earthy - like a forest floor. It should be free of recognizable food chunks. Depending on your climate and management frequency, this typically takes two to six months. Shovel finished compost from the bottom of the pile or bin. Spread 1 to 2 inches over garden beds and work it lightly into the top few inches of soil, or use it as a top-dressing around established plants.
Troubleshooting Common Problems
Even a well-built pile runs into issues. Here's how to read the signs and fix them quickly:
| Symptom | Likely Cause | Fix |
|---|---|---|
| Rotten or ammonia smell | Too many greens, not enough air | Add browns, turn the pile |
| Pile isn't heating up | Too dry or too many browns | Add water and green material |
| Pests or flies | Food scraps exposed on surface | Bury scraps in the center, use a lidded bin |
| Pile is soggy | Excess moisture, poor drainage | Mix in dry leaves or cardboard, turn to aerate |
Once finished, compost pairs beautifully with a layer of mulch. Our article on why mulch matters more than most gardeners realize explains how the two work together to protect and enrich soil. When you're ready to put your compost to use at the end of the growing season, the end-of-season garden shutdown checklist walks you through incorporating amendments before winter.
The content provided on our blog site traverses numerous categories, offering readers valuable and practical information. Readers can use the editorial team’s research and data to gain more insights into their topics of interest. However, they are requested not to treat the articles as conclusive. The website team cannot be held responsible for differences in data or inaccuracies found across other platforms. Please also note that the site might also miss out on various schemes and offers available that the readers may find more beneficial than the ones we cover.