

Why Bathtub Caulk Fails - and What You Can Actually Do About It
A cracked or peeling caulk line isn't just an eyesore - it's an open invitation for water to seep behind your walls, damage the subfloor, and encourage mold growth in places you can't easily see. Most homeowners recaulk a tub hoping for a fix that lasts years. Many are back at it in months. The difference almost always comes down to a handful of avoidable mistakes made before or during the job.
The good news: caulking a bathtub is genuinely a DIY-friendly task when approached correctly. The steps below walk through what goes wrong most often and, more importantly, how to get it right the first time.
Applying new caulk directly over old caulk without removing it first.
Why it happens: It looks faster and avoids the messy removal step, so many homeowners skip it hoping the fresh layer will seal over the deteriorated one.
Caulking over surfaces that are still damp or not fully dry.
Why it happens: Homeowners often clean the area and caulk the same day, not realizing that surface moisture - even invisible humidity - prevents adhesion.
Caulking the tub while it is empty.
Why it happens: It seems logical to work on a dry, empty tub, but most homeowners don't account for the tub's flex under a full water load.
Choosing latex or acrylic-latex caulk instead of 100% silicone for wet areas.
Why it happens: Latex caulk is easier to work with and clean up, and packaging often says "kitchen and bath," which can mislead buyers into thinking it performs equally well in high-moisture zones.
Skipping painter's tape and then trying to clean up a messy bead after it cures.
Why it happens: Applying tape feels like extra work, and many people believe they can wipe away excess caulk easily. Silicone, once cured, is extremely difficult to remove from tile surfaces.
Not smoothing or tooling the caulk bead after application.
Why it happens: First-timers often assume the caulk gun does all the work. An untooled bead looks uneven and leaves gaps or air pockets that allow water intrusion.
Setting Up for Success: What to Do Before You Open the Tube
Preparation accounts for roughly 80 percent of the outcome. Once you understand the mistakes that derail most caulk jobs, a clear pre-job checklist emerges naturally.
Remove all the old caulk. Use a dedicated caulk remover tool or a plastic scraper and a softening product to strip every trace from the joint. Don't rush this step - any residual material will prevent the new caulk from bonding to the tub or tile surface.
Once the joint is clear, clean it with rubbing alcohol or a mildew-killing bathroom cleaner, then let it dry completely. In a typically ventilated bathroom, plan for at least 24 hours of drying time after cleaning. If you're working in a high-humidity climate or during colder months when windows stay shut, give it longer.
Fill the tub before you caulk. This is the step that surprises most first-timers. A standard bathtub can flex noticeably under the weight of water and a person. If you caulk with an empty tub, the joint is slightly wider than it will be during normal use. Once you fill and use the tub, that slight expansion breaks the fresh seal. Fill the tub before you begin, apply and tool the caulk, let it cure fully, then drain.
Never Caulk Over Signs of Mold or Water Damage
If you find black mold, soft drywall, or discoloration behind or around the old caulk line, do not simply re-caulk and move on. Sealing over active mold traps moisture and allows the problem to worsen behind the wall. Treat any mold thoroughly with an appropriate bathroom mold remover, allow the area to dry completely, and assess whether the underlying surface has been compromised. If wall material feels soft or crumbles, consult a licensed contractor before proceeding.
For related home improvement prep strategies, see our guide to interior wall painting - surface preparation is equally decisive there.
Choosing the Right Caulk and Finishing It Properly
Not all caulk is the same, and the bathroom section of a hardware store can be confusing. For bathtub seams, 100% silicone caulk is generally the preferred choice among professionals. It stays flexible under repeated movement, resists mildew, and holds up to constant moisture far better than latex or acrylic-latex blends. Silicone is harder to tool smoothly, but the durability trade-off is well worth it.
Up to 30%
Of household water damage linked to bathroom sealing failures
Industry estimates from building inspection data suggest a significant share of interior water damage originates around improperly sealed bathroom fixtures and joints.
24-48 hrs
Minimum cure time for silicone caulk before tub use
Most 100% silicone caulk manufacturers specify a full 24-to-48-hour cure period under normal indoor temperature and humidity conditions before the seal should be exposed to water.
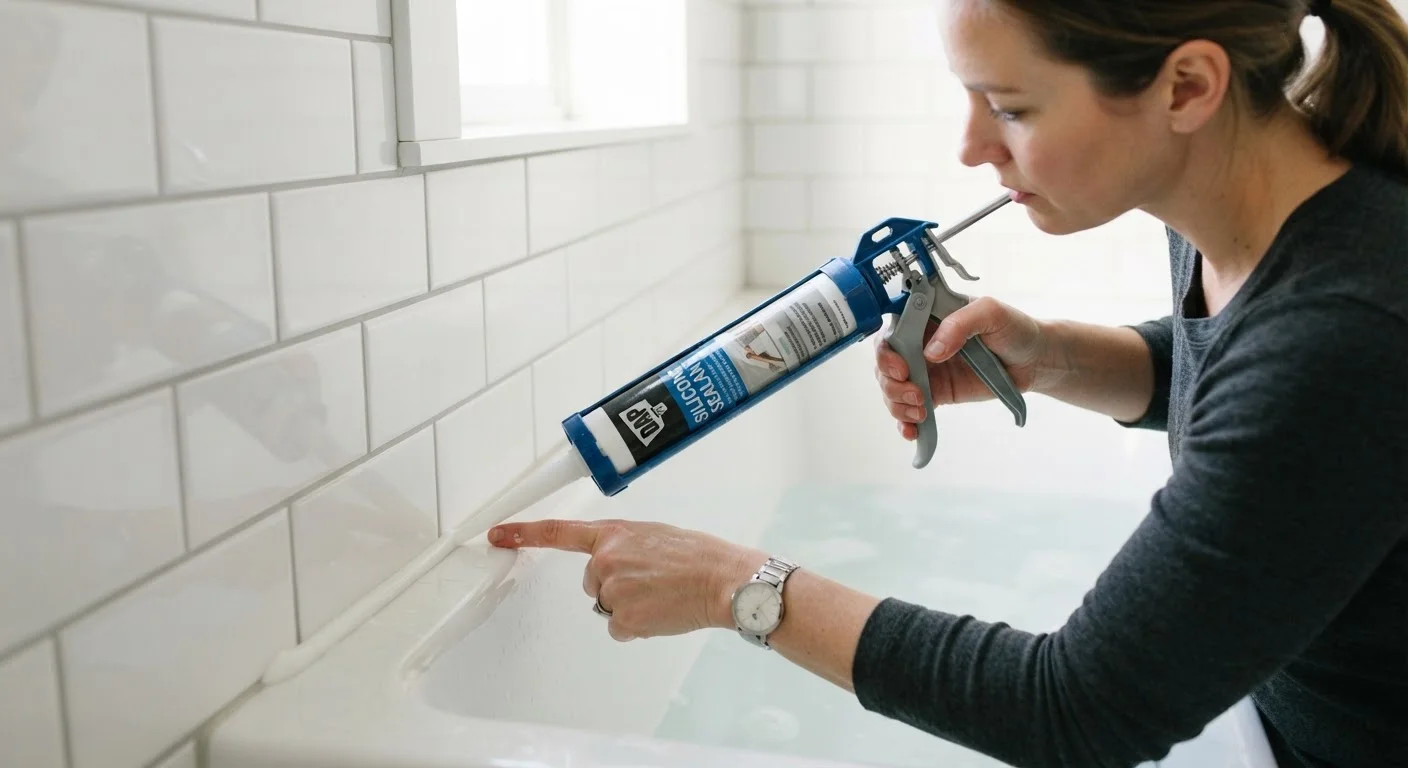
If you choose silicone, have a cup of water with a small drop of dish soap on hand. Dip your finger or a caulk-finishing tool into it before smoothing the bead - this prevents the silicone from sticking to your skin and helps you achieve a clean, concave finish in one pass. Work in short sections rather than running the full length of the tub in one stroke.
Tape off both sides of the joint with painter's tape before you apply for the cleanest result. Remove the tape while the caulk is still wet - pulling it off after it cures can tear the edge of your fresh bead.
After application, allow full cure time before using the tub. Silicone typically requires 24-48 hours, though product instructions vary. Resist the temptation to test early. For similarly detailed prep-and-finish thinking applied to another common home repair, the drywall repair walkthrough is a useful companion read.
This article provides general home improvement guidance for informational purposes only. For tasks involving structural elements, plumbing connections, or conditions suggesting water damage behind walls, consult a licensed contractor or plumber.
The content provided on our blog site traverses numerous categories, offering readers valuable and practical information. Readers can use the editorial team’s research and data to gain more insights into their topics of interest. However, they are requested not to treat the articles as conclusive. The website team cannot be held responsible for differences in data or inaccuracies found across other platforms. Please also note that the site might also miss out on various schemes and offers available that the readers may find more beneficial than the ones we cover.