

Why Weatherstripping Matters More Than You Might Think
Air leaks around doors and windows are among the most common sources of wasted energy in American homes. The U.S. Department of Energy notes that sealing these gaps is one of the most impactful steps a homeowner can take to improve comfort and efficiency - often with simple, low-cost materials available at any hardware store.
Beyond energy costs, uncontrolled air infiltration carries moisture, pollen, dust, and insects into the home. In winter, cold drafts near doorways can make an entire room feel uncomfortable despite the thermostat being set appropriately. Weatherstripping addresses all of these issues at once.
This is also one of the most forgiving home improvement tasks: no special licenses or permits are required, the materials are inexpensive, and the results are noticeable immediately. It pairs naturally with the broader seasonal maintenance habits covered in our seasonal home maintenance guide, and complements other low-effort upgrades that refresh an older home without major renovations.
The Flashlight Test Finds Hidden Drafts
On a dark night, have a helper shine a flashlight along the outside edges of a closed door while you observe from inside. Light leaking through confirms air gaps. You can also hold a lit incense stick near seams on a windy day - smoke movement reveals exactly where air is infiltrating.
What You'll Need Before You Start
Gather your materials before beginning so you don't have to stop mid-project. The tools required are minimal and likely already in your home.
Tape measure
Measure the length of each door or window side accurately so you cut weatherstripping to the correct size.
Utility knife or scissors
Cut foam tape, V-strip, or door sweeps cleanly to the measured length.
Isopropyl alcohol and clean rags
Degrease and clean application surfaces so adhesive bonds properly.
Screwdriver (flathead and Phillips)
Remove and reinstall door sweeps or nail-on weatherstripping as needed.
Hammer and finish nails
Secure nail-on V-strip or felt weatherstripping where adhesive alone is insufficient.
Pry bar or putty knife
Carefully remove old weatherstripping and adhesive residue without damaging the frame.
What you will need
Check for Rot or Structural Damage First
Before applying any weatherstripping, inspect the door frame and window sash for soft wood, rot, or serious gaps caused by settling. Weatherstripping cannot compensate for structural issues, and covering rot can trap moisture and worsen the damage. If you find significant deterioration, consult a contractor before proceeding.
Step-by-Step: Weatherstripping Your Doors and Windows
Don't Skip the Surface Prep
Weatherstripping adhesive will not bond reliably to dusty, painted-over, or oily surfaces. Failing to clean and dry the frame thoroughly before installation is the most common reason weatherstripping peels away prematurely. Take five extra minutes on prep - it determines whether the seal lasts one season or several years.
Identify all air leaks around doors and windows
Walk the perimeter of your home on a windy day and run your hand slowly along the edges of each exterior door and window. Note any locations where you feel cool air movement. Pay special attention to the top rail, side jambs, and the threshold at the bottom of doors. Mark problem areas with painter's tape so you don't lose track.
Choose the right weatherstripping material
Match the material to the location and the type of movement the surface makes when used:
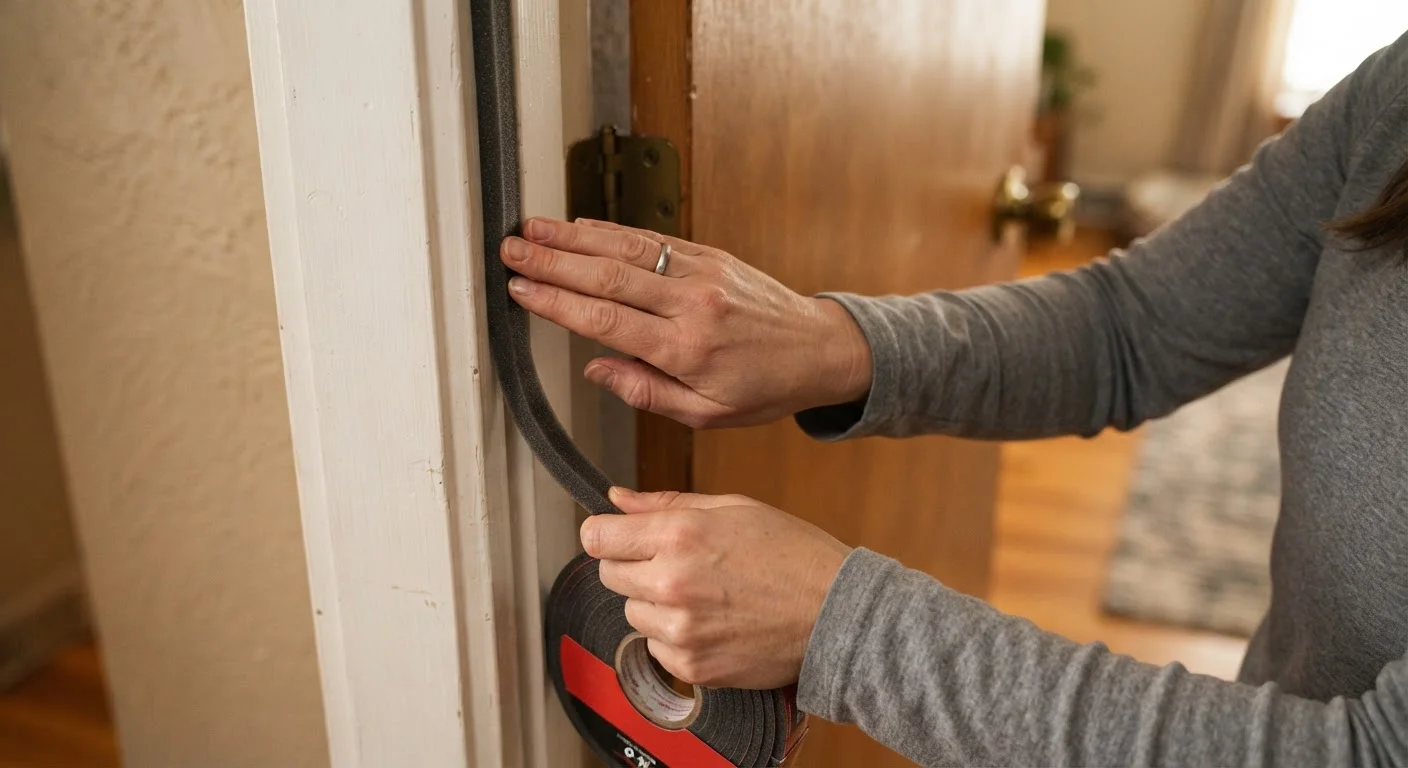
- Foam tape (open-cell or closed-cell): Best for window sashes and the top and latch side of door frames. Inexpensive and easy to apply, but compresses over time - plan to replace every few years.
- V-strip (tension seal): A folded plastic or metal strip that springs open to fill gaps. Ideal for the sides of door frames and double-hung window channels. Very durable.
- Door sweeps: Aluminum or stainless carriers with a rubber or brush seal mounted to the bottom of the door. Seals the gap between the door bottom and threshold.
- Reinforced felt: Economical option for low-traffic windows, but less moisture-resistant than foam or V-strip.
Remove old weatherstripping and clean the surface
Peel away any existing weatherstripping. Use a putty knife or pry bar to dislodge stubborn sections without gouging the wood. Remove all adhesive residue using isopropyl alcohol on a rag - rubbing firmly until the surface feels clean and smooth. Let the frame dry completely before proceeding. On painted frames, lightly sand any raised edges left by old adhesive.
Measure and cut the weatherstripping
Measure each side of the door or window individually - frames are rarely perfectly square, and even small differences matter. Cut V-strip or foam tape slightly longer than your measurement, then trim to exact fit. For door sweeps, measure the door width and cut the sweep so it spans the full bottom edge without binding against the side stops when the door closes.
Install the weatherstripping
For foam tape: Peel the backing and press firmly into place along the door stop (the raised edge the door closes against). Hold pressure for 30 seconds per section.
For V-strip: Slide or nail it into the door channel with the open end of the V facing the outside so it is compressed when the door closes. Some V-strips are self-adhesive; others require finish nails every 2-3 inches.
For door sweeps: Position the sweep so the rubber or brush just touches the threshold when the door is closed. Mark the screw holes, pilot-drill if working with hardwood, and fasten securely.
Test the seal and make adjustments
Close the door or window and repeat the hand or incense test from Step 1. If you still feel air movement, check whether the weatherstripping is compressed evenly - gaps are often caused by a warped frame or inconsistent pressure. V-strip can be gently bowed outward with a putty knife to increase tension. Door sweeps can be repositioned by loosening and sliding the carrier before re-tightening the screws.
Keeping Your Seals in Good Shape Year After Year
Weatherstripping is a maintenance item, not a one-time fix. Most materials last between two and ten years depending on the type, the amount of door and window use, and exposure to UV light or moisture. Add a weatherstripping inspection to your fall checklist before heating season starts - look for sections that are flattened, cracked, peeling, or no longer making full contact with the frame.
Doors that stick or drag seasonally may need a frame adjustment rather than new weatherstripping - wood swells with humidity, which can shift the fit of a door. If you notice consistent difficulty latching a door that was previously problem-free, check the hinge screws for looseness before assuming the weatherstripping is at fault. Small fixes in the right order save you from replacing materials unnecessarily.
The content provided on our blog site traverses numerous categories, offering readers valuable and practical information. Readers can use the editorial team’s research and data to gain more insights into their topics of interest. However, they are requested not to treat the articles as conclusive. The website team cannot be held responsible for differences in data or inaccuracies found across other platforms. Please also note that the site might also miss out on various schemes and offers available that the readers may find more beneficial than the ones we cover.